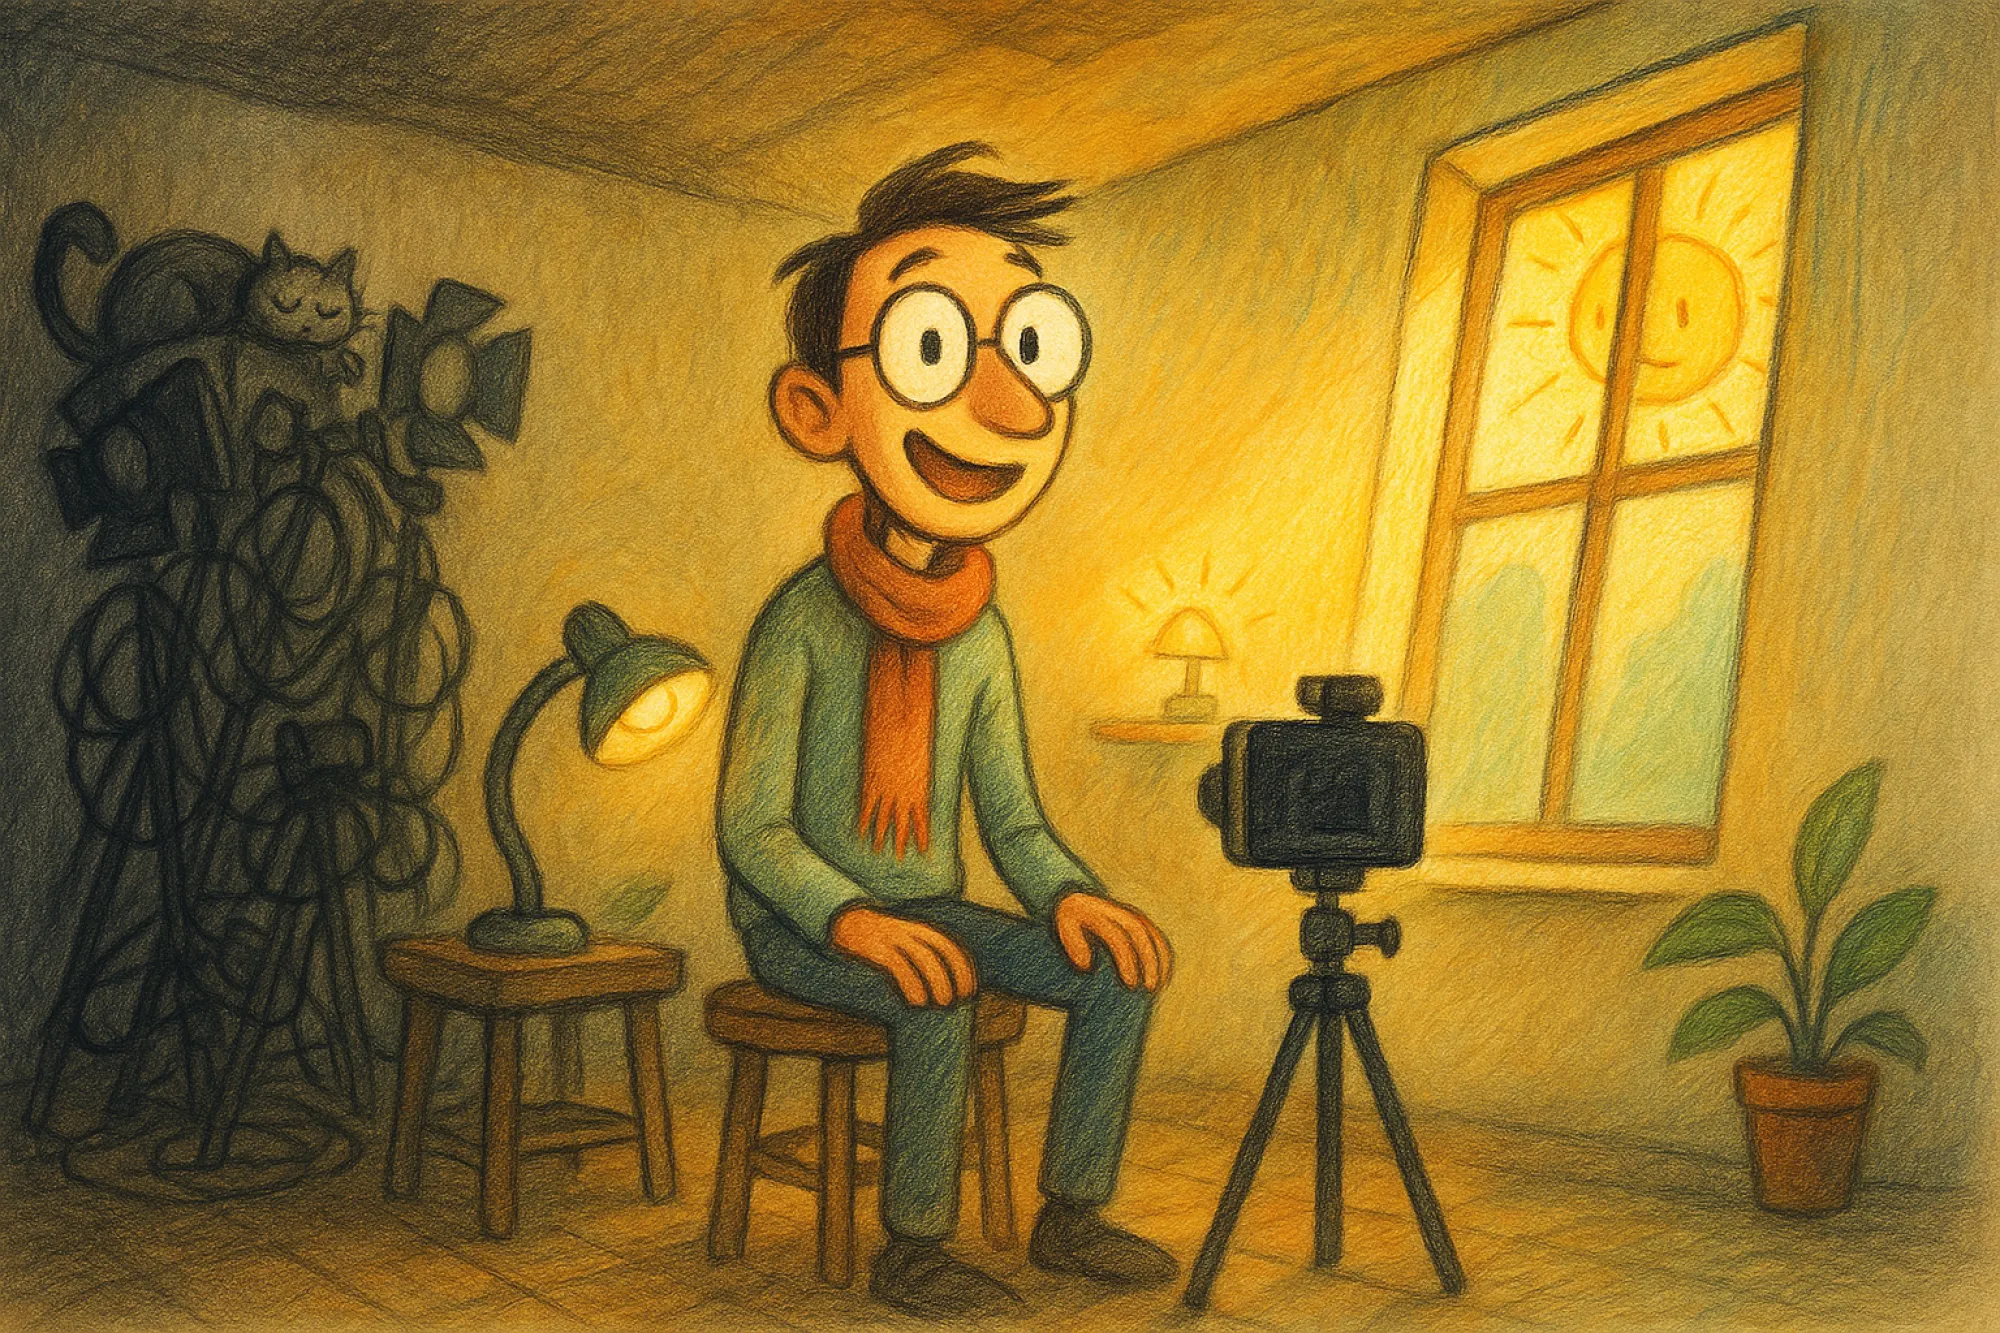
Lighting is the difference between footage that looks like a webcam call and footage that looks intentional. The surprising thing is how little equipment it takes. With one good light, or even a well-placed window, you can make a talking-head video look clean, flattering, and professional. Add a second light and you have real control.
The three roles of light
Classic three-point lighting describes three jobs a light can do. You won't always use all three, but knowing them gives you a vocabulary for solving problems.
- Key light: Your main light source. It's the brightest and does most of the work of illuminating your face.
- Fill light: A softer, dimmer light on the opposite side that fills in the shadows the key creates. More fill means a flatter, brighter look; less fill means more contrast and mood.
- Back light (or rim light): A light behind you, aimed at the back of your head and shoulders, that creates a subtle outline and separates you from the background.
Setting up with one light
If you only have one light, make it your key, and make it soft. Soft light comes from a large source relative to your face and produces gentle, gradual shadows. Hard light comes from a small source and creates sharp, unflattering shadows.
- Diffuse it. Use a softbox, an umbrella, or simply shine the light through a white shower curtain or a sheet of diffusion material. Bouncing it off a white wall or foam board also softens it.
- Place it at roughly 45 degrees. Position the light off to one side of the camera and slightly above eye level, angled down toward your face. This is a natural, flattering position that mimics how we're used to seeing faces lit.
- Bring it close. The closer a light is to you, the larger and softer it becomes relative to your face. Move it in until it's just out of frame.
- Add a bounce for fill. On the opposite side, place something white or reflective, like a foam board, a reflector, or even a white pillowcase on a chair. It will catch some of the key light and gently fill the shadows for free.
Soft light comes from a big source, close to the subject.
Adding a second light
With two lights, you have a choice. You can use the second as a dedicated fill, giving you precise control over shadow depth. Or you can use it as a back light to separate yourself from the background, while still using a reflector for fill.
For many talking-head setups, a back light makes the bigger visual difference. Place it behind you and to one side, out of frame, aimed at your hair and shoulders. Keep it subtle; you want a gentle edge, not a halo. A small, inexpensive light is usually enough.
Working with window light
A window is a large, soft, free light source, and it can look beautiful. A few tips:
- Face the window at an angle, not straight on and never with the window behind you. Sitting with a window behind you turns you into a silhouette unless you add a lot of light in front.
- Sheer curtains are your diffusion. Direct sunlight is harsh; a thin curtain softens it beautifully.
- Use a reflector on the shadow side to balance the light across your face.
- Watch the clock and the weather. Window light changes constantly. Clouds roll in, the sun moves, and footage shot over an hour can shift noticeably. For long recordings, consider supplementing with an artificial key light so you have consistency.
Getting color temperature right
Different light sources have different colors. Daylight is cooler and bluer; household bulbs tend to be warmer and more orange. Color temperature is measured in kelvin, with lower numbers being warmer and higher numbers cooler.
Mixing sources with different color temperatures can make skin look odd, with one side of your face orange and the other blue. To avoid this:
- Turn off overhead room lights, which are often a different color from your video lights and cast unflattering top-down shadows anyway.
- If using window light, set your video lights to a daylight-balanced setting, or use bulbs labeled as daylight.
- Set your camera's white balance manually rather than leaving it on auto, which can shift mid-recording. Many cameras let you set it using a white or gray card held in your lighting.
- If your lights are adjustable, match them to each other and to any ambient light you're keeping.
Common mistakes and quick fixes
- Glare on glasses: Raise the key light higher or move it further to the side until the reflection disappears from the lens.
- Dark eye sockets: Your light may be too high. Lower it slightly or add a bounce below frame.
- Flat, lifeless image: Reduce fill so there's some shadow on one side of your face, or add a back light.
- Distracting background: Light yourself more than the background, or move further from the wall so it falls off naturally.
Test before you record
Before every shoot, record a short test clip and watch it on the device your audience is most likely to use. Check skin tones, shadows, and whether your eyes have a small reflection of the light, often called a catchlight, which makes you look more alive on camera. Small adjustments here pay off across every video you make.