There's an old piece of production wisdom that holds up remarkably well: audiences will tolerate mediocre picture, but they won't tolerate bad sound. Echoey, hissy, or distorted audio makes a video feel amateur and tiring to watch, no matter how good the content is.
The encouraging part is that great audio is less about expensive gear than about technique. Before you spend money on a new microphone, try the steps below. You may find the mic you already own sounds far better than you thought.
Distance is everything
The single most important factor in how your voice sounds is how close the microphone is to your mouth. A microphone picks up everything in the room: your voice, the echo of your voice off the walls, the fridge humming in the next room, traffic outside. The closer the mic is to you, the louder your voice is relative to all of that, and the cleaner your recording sounds.
This is why a camera's built-in microphone, sitting several feet away, tends to sound hollow and roomy. Moving even an inexpensive mic much closer will usually outperform a pricier one placed far away.
- Lavalier (clip-on) mics: Clip on the chest, roughly a hand's width below the chin. Keep it away from clothing that rustles, and route the cable under your shirt.
- Shotgun mics: Point at the mouth from just outside the camera frame, usually above and angled down. Closer is better; get it as near as the shot allows.
- Desk or USB mics: Position a few inches to a hand's length from your mouth, slightly off-axis (pointed at the corner of your mouth rather than straight on) to reduce harsh breathy sounds.
Before you buy a better microphone, move the one you have closer.
Tame the room with what you already own
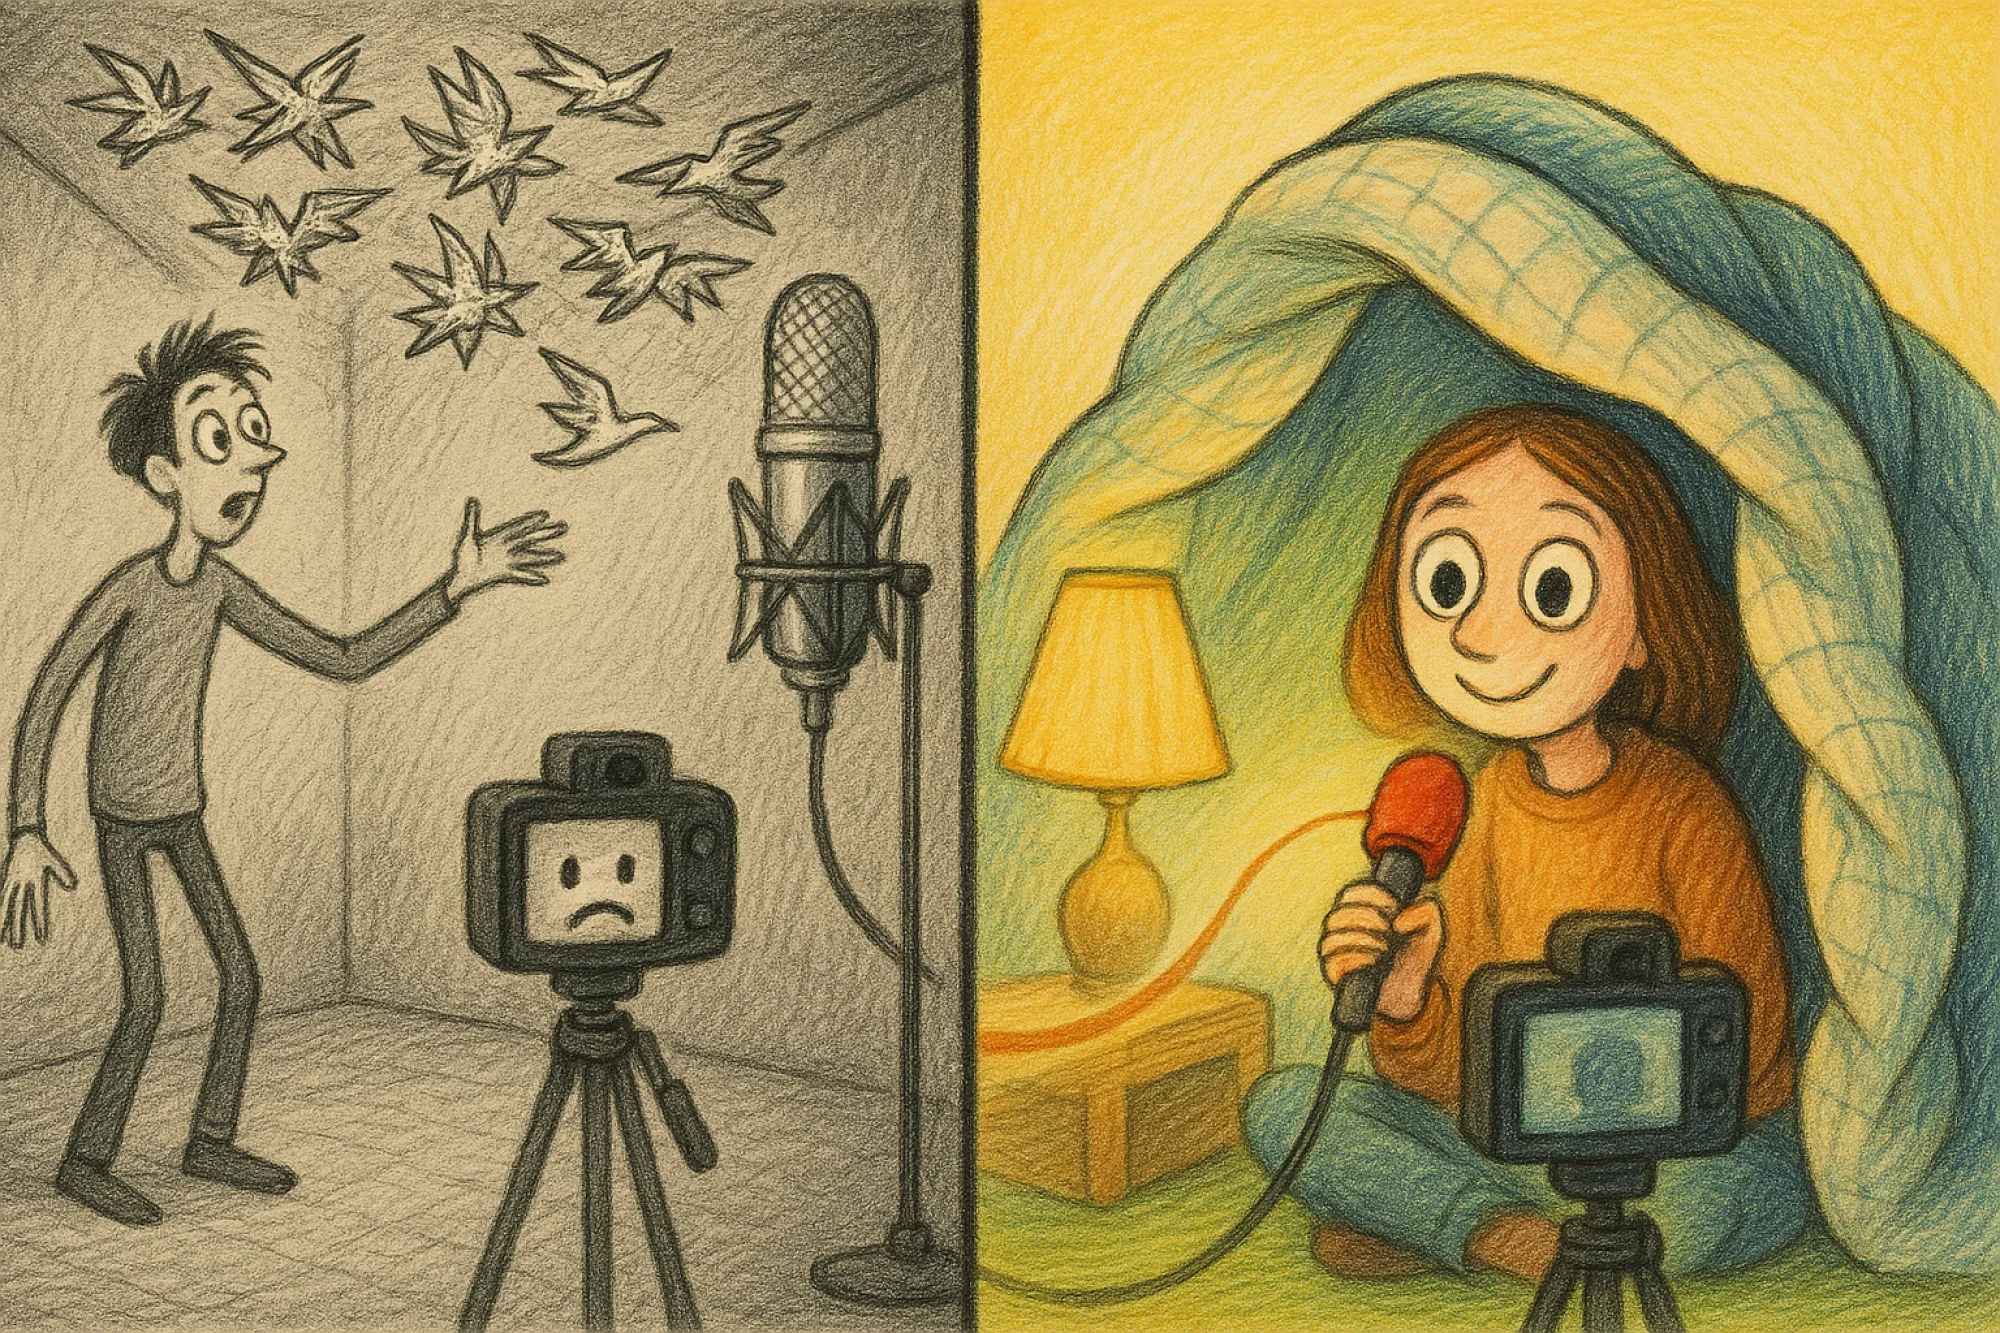
Hard, flat surfaces bounce sound around, creating the echo and reverb that make recordings sound like they were made in a bathroom. Soft, irregular surfaces absorb and scatter that sound. You don't need acoustic foam to make a difference.
- Choose the right room. A bedroom with carpet, curtains, a bed, and a full closet will almost always sound better than a kitchen or empty living room.
- Hang blankets or duvets. Draping heavy blankets on stands or over doors near you, especially behind the camera where your voice hits first, can noticeably reduce echo.
- Use furniture. Bookshelves full of books, sofas, cushions, and rugs all help break up reflections.
- Record facing the soft stuff. Your voice projects forward, so what's in front of you matters most.
- The closet trick. For voiceovers, recording inside a closet full of clothes is a time-honored, surprisingly effective option.
Clap your hands once in the room. If you hear a ringing or fluttering tail, there are still hard surfaces to soften.
Set your levels properly
Gain staging sounds technical, but the idea is simple: set the input level so your voice is strong but never hits the maximum. When audio hits the ceiling, it clips, producing harsh distortion that can't be repaired afterward.
- Speak at the volume you'll actually use, including your loudest moments, like laughing or getting excited.
- Adjust the gain on your mic, interface, or recorder so the meter sits comfortably in the upper-middle range and the loudest peaks stay clearly below the top, out of the red.
- Leave headroom. It's far easier to raise a slightly quiet recording in editing than to fix a clipped one.
- If your camera has automatic gain control, consider turning it off and setting levels manually, since automatic gain can pump up background noise during pauses.
Always wear headphones while you test. Your ears will catch problems the meter won't.
Hunt down noise at the source
Noise reduction software is useful, but it works best on recordings that are already fairly clean. Heavy processing can make voices sound watery or robotic. Remove noise before you hit record:
- Turn off fans, air conditioning, and noisy appliances while recording.
- Silence phone notifications and close chat apps.
- Move computers with loud fans away from the mic, or under the desk.
- Record a few seconds of "room tone" (silence) at the start. Many noise-reduction tools use this as a reference.
- Check cables. A buzz or hum can come from a loose connection or a cable running alongside a power lead.
Light-touch editing
A little processing goes a long way. A gentle high-pass filter removes low rumble, a touch of compression evens out volume, and light noise reduction cleans what's left. Then aim for consistent loudness across your videos so viewers aren't constantly reaching for the volume. Many editing apps include loudness meters and presets; your platform's help pages may also offer guidance on recommended levels.
When to upgrade
Once your placement, room, and levels are sorted, you'll know exactly what your current gear can and can't do. That's the moment to consider an upgrade, and you'll be shopping with a clear idea of what problem you're actually solving.