Your first livestream can feel daunting. There's no editing, no second take, and you might be talking to an empty chat, or to strangers who have opinions. But every streamer started with a first broadcast, and most of the stress comes from technical surprises that preparation can prevent.
Work through this checklist in the days before your first stream and you'll go live with far more confidence.
1. Check your account and platform requirements
- Make sure your account is set up and verified for streaming. Some platforms require verification steps or have a waiting period before you can stream for the first time.
- Read the platform's current community guidelines and streaming rules. Policies change, so check the official help pages rather than relying on older advice.
- Set your stream title, category, and any content labels accurately.
2. Test your connection
Streaming depends on a stable upload speed, not just download speed. Run a speed test and check your platform's recommended settings for your connection. If possible, use a wired ethernet connection rather than Wi-Fi, which can be less stable. Close other apps and pause large downloads or cloud backups while you're live.
3. Set up your streaming software
Most streamers use broadcasting software to combine their camera, microphone, game or screen capture, and graphics into one stream. Popular options include free, open-source tools as well as paid alternatives.
- Connect your software to your platform account or enter your stream key. Treat your stream key like a password: never share it or show it on screen.
- Choose resolution, frame rate, and bitrate settings appropriate for your connection and computer. If unsure, start conservatively. A smooth stream at modest quality beats a stuttering one at high quality.
- Run your software's built-in settings wizard or tests if available.
4. Build your scenes
Scenes are the different layouts you switch between during a stream. Set up a few simple ones before you start:
- Starting soon: A holding screen with music that plays while viewers arrive.
- Main scene: Your primary layout, for example gameplay with a webcam overlay, or a full-screen camera for a chat stream.
- Be right back: For breaks, so you can step away without ending the stream.
- Ending: A closing screen to thank viewers and sign off.
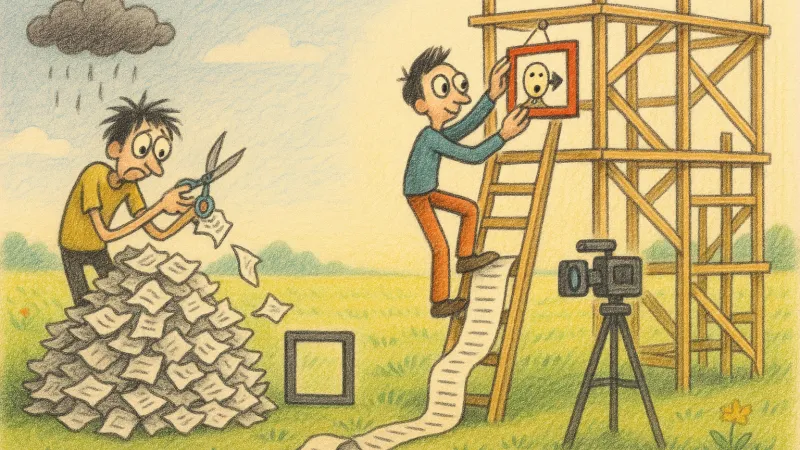
Keep overlays clean. You don't need elaborate graphics on day one; clarity matters more than decoration.
A smooth stream at modest quality beats a stuttering one at high quality.
5. Get your audio right
Audio problems are among the most common reasons viewers leave a stream.
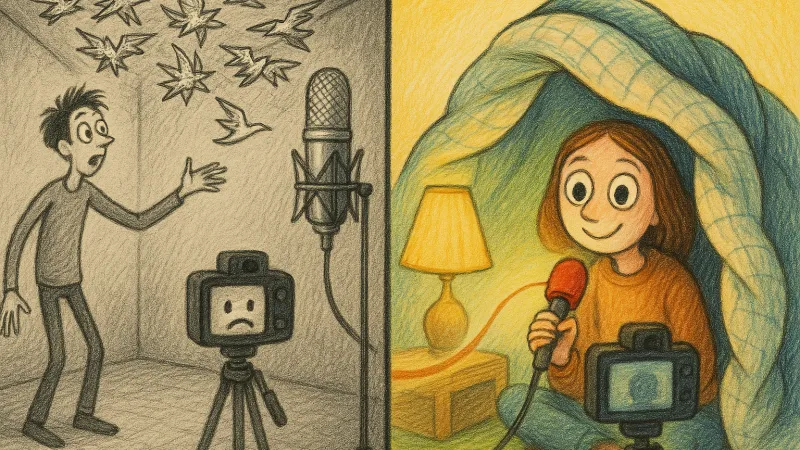
- Position your microphone close to your mouth and check your levels so your voice is clear without distorting.
- Balance your voice against game audio, music, and alerts. Your voice should sit clearly on top.
- Use headphones so your mic doesn't pick up game sound or chat readouts and create echo.
- Use only music you have the rights to stream. Copyrighted music can lead to muted VODs or other action; check your platform's music guidance.
- Consider a noise suppression filter or noise gate in your software to reduce background noise.
6. Check your lighting and camera
If you're using a camera, make sure your face is well lit from the front, ideally with a soft light source, and that nothing distracting or private is visible in the background. Check for personal information like addresses, documents, or windows that reveal your location.
7. Set up moderation
Even small streams can attract trolls, spam, or harassment. Prepare before you need it:
- Turn on the platform's built-in chat filters and moderation tools.
- Add a list of blocked words or phrases.
- Consider enabling slow mode or follower-only chat if needed.
- Write clear, simple chat rules and pin them or display them on screen.
- If you have a trusted friend, make them a moderator so you're not handling problems alone.
8. Do a private test stream
Most platforms offer a way to test without broadcasting publicly, such as unlisted or private streams, or test modes in your software. Record a short test and watch it back. Check audio sync, levels, scene transitions, and how your stream looks on a phone.
9. Plan for dead air
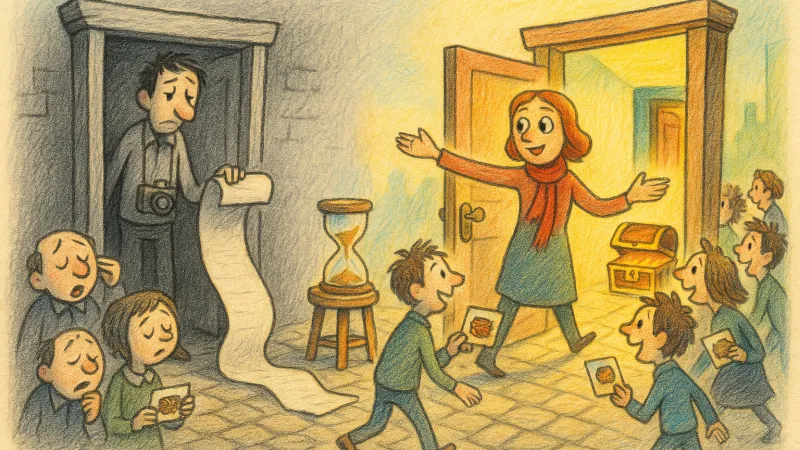
On a first stream, chat may be quiet for long stretches. That's normal. The key is to keep talking as if people are watching, because viewers arriving later will see a host who's engaged rather than one staring silently at the screen.
- Narrate what you're doing and why. Explain your thinking, decisions, and reactions.
- Prepare talking points: a few topics, stories, or questions to fall back on.
- Ask open-ended questions that invite chat to respond.
- Have a loose plan for the stream's structure: a goal, a challenge, or segments.
- Greet everyone who speaks. Early viewers remember when a streamer made them feel welcome.
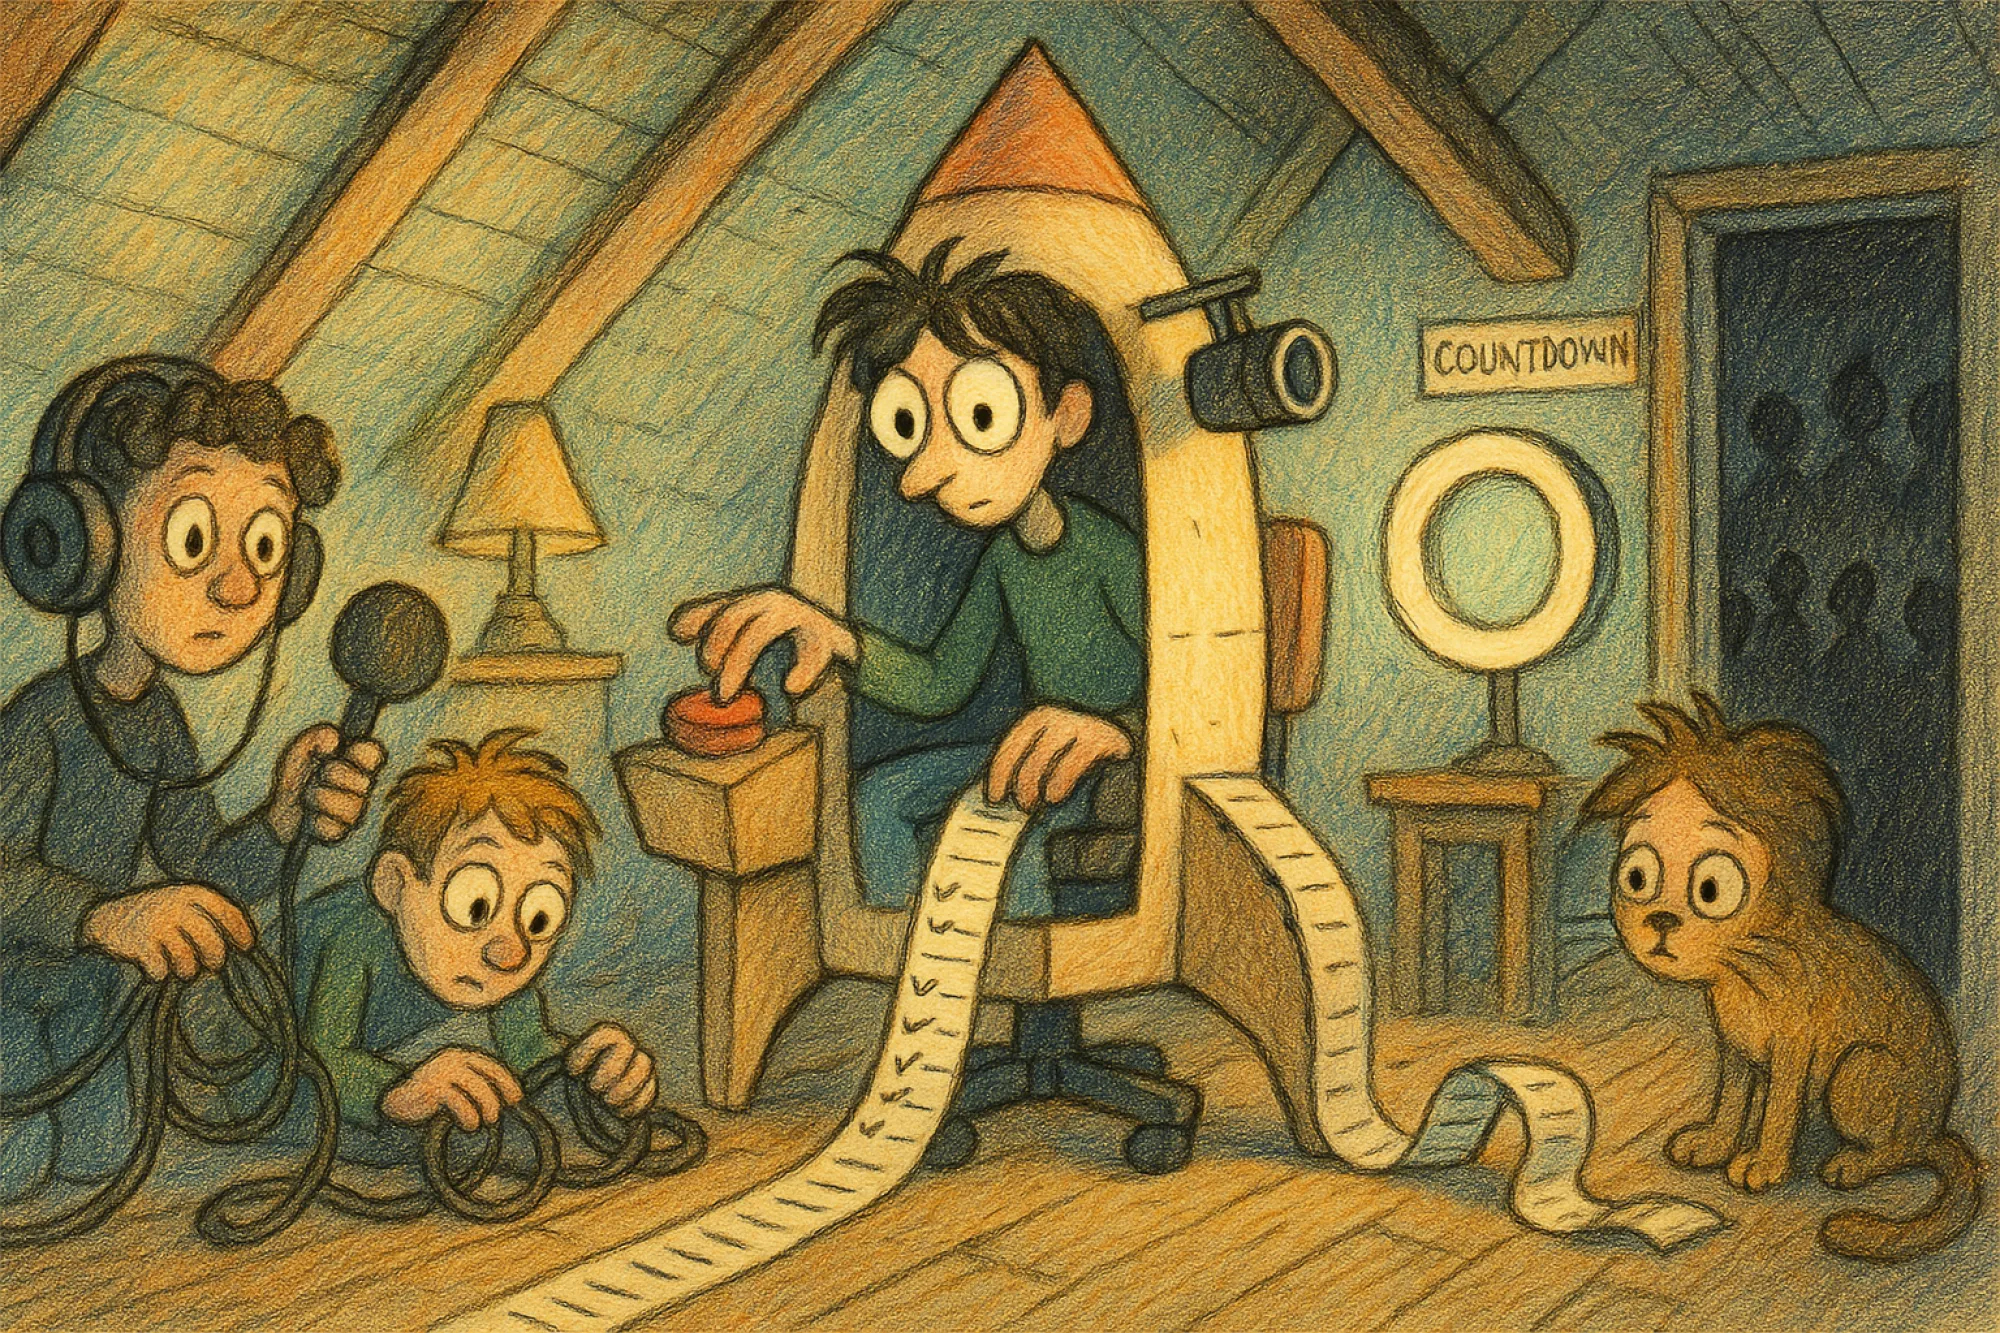
10. Final pre-stream checklist
- Water within reach, phone on silent, notifications off
- Correct audio input and output selected
- Scenes and sources visible and in order
- Stream title and category set
- Moderation tools on
- Background checked for anything private
Then go live. Things may go wrong, and that's fine. Every stream teaches you something, and the only way to get comfortable live is to keep doing it.